Visual guide to installing Pixelmon
This guide covers installing Pixelmon Reforged through a modpack launcher of your choice. Modpack launchers automate much of the install process, downloading and installing Forge (which lets Minecraft run mods) and any bundled mods for you.
If you want to do a manual install, please see our manual installation guide instead. Note that you may also need to allocate more memory to make Pixelmon and other mods run correctly, as covered in our allocation guide.
Technic launcher
| Step | Example |
|---|---|
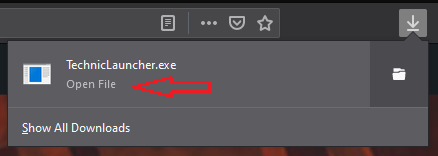
| Download the Technic Launcher for your platform here. | |
| Run the downloaded file. | |
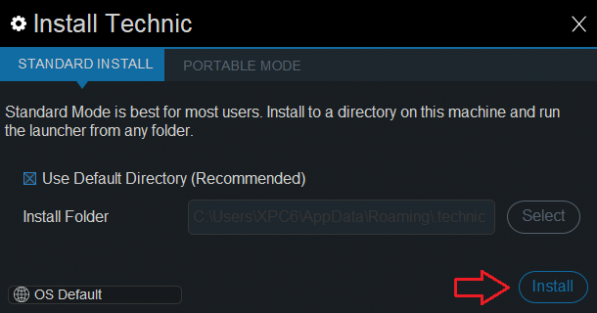
| Click the "Install" button. | |
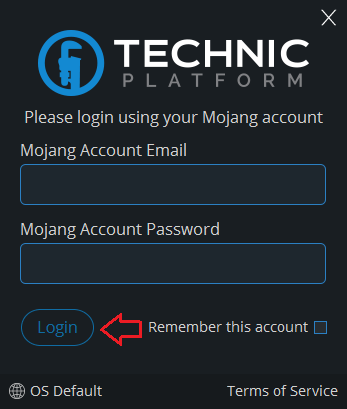
| Enter your Minecraft account details and click "Login". | |
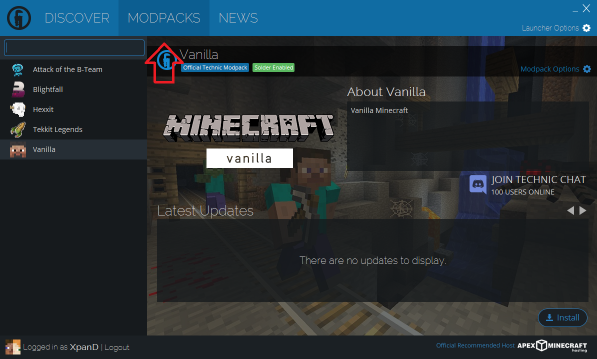
| Click the "MODPACKS" tab. | |
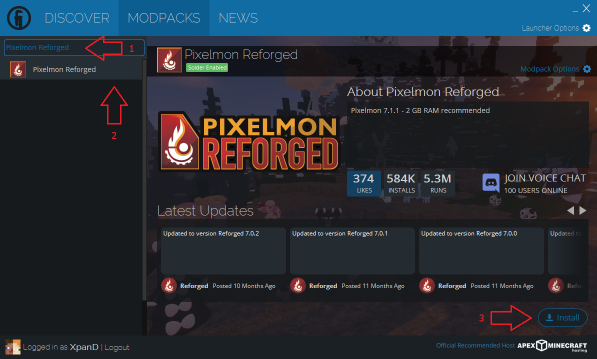
| Search for "Pixelmon Reforged", then click "Install". | |
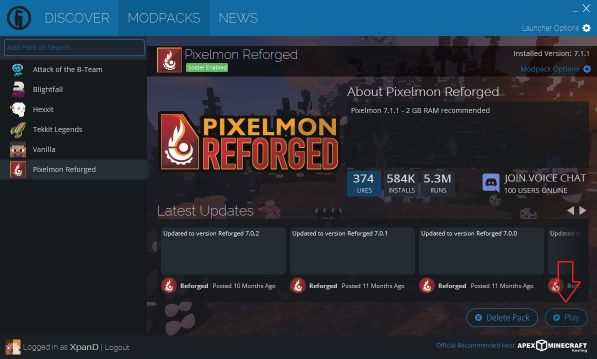
| Click the "Play" button! |
AT Launcher
| Step | Example |
|---|---|
| Download ATLauncher for your platform here. | |
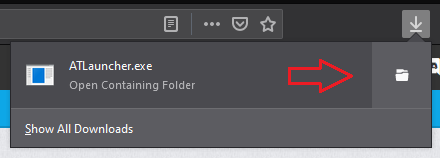
| Find the downloaded file, and place it in an empty folder. | |
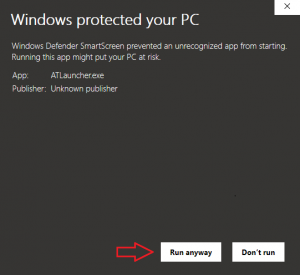
| If on Windows, click "More info" and then "Run anyway". | |
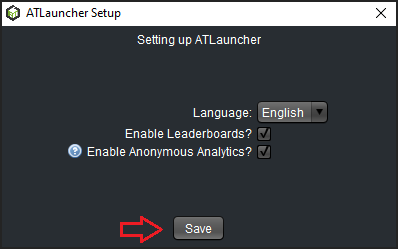
| Run the file from its folder, and then click "Save". | |
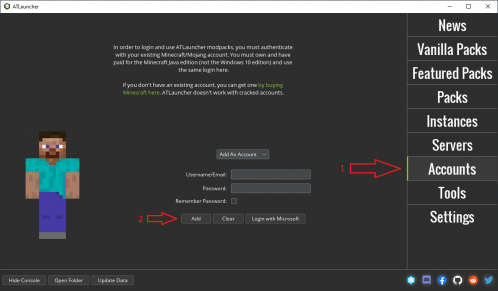
| Click "Accounts" and enter your Minecraft account details. | |
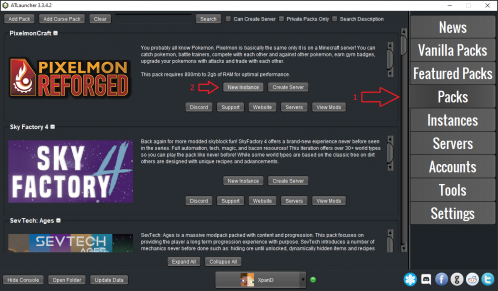
| Click "Packs", find the Reforged pack and click "New Instance". | |
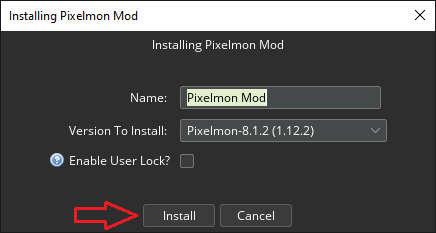
| Select your preferred version, then click "Install". | |
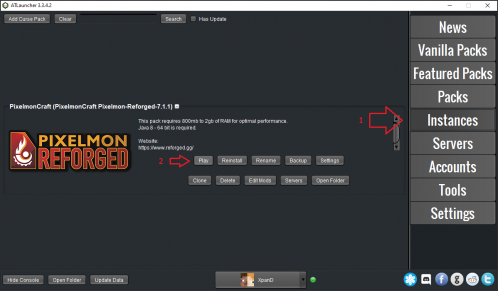
| Click "Instances" and click "Play" on the Reforged instance! |
Please note: If the game crashes or runs slowly, please follow our allocation guide next. AT tries to come up with a sensible allocation, but Technic uses MC's low 1GB limit by default, which can cause issues with heavy mods like Pixelmon.
If you get stuck on any of these steps, feel free to ask for help in the official Pixelmon Discord.

 NodeCraft

