Difference between revisions of "Installation/CurseForge"
From Pixelmon Wiki
Lord Samosa (talk | contribs) m (added beta steps) |
(Removed mention of requiring Overwolf, since it's outdated.) |
||
| (One intermediate revision by one other user not shown) | |||
| Line 9: | Line 9: | ||
<!--T:1--> | <!--T:1--> | ||
This part of the [[Installation|installation guide]] covers installing [https://download.curseforge.com/ the Curseforge launcher], and [[Pixelmon|the Pixelmon modpack]] with it. | This part of the [[Installation|installation guide]] covers installing [https://download.curseforge.com/ the Curseforge launcher], and [[Pixelmon|the Pixelmon modpack]] with it. | ||
| − | + | This page also covers enabling beta builds when they are available. | |
==Installation== <!--T:2--> | ==Installation== <!--T:2--> | ||
| Line 17: | Line 17: | ||
! class="unsortable" | | ! class="unsortable" | | ||
|- | |- | ||
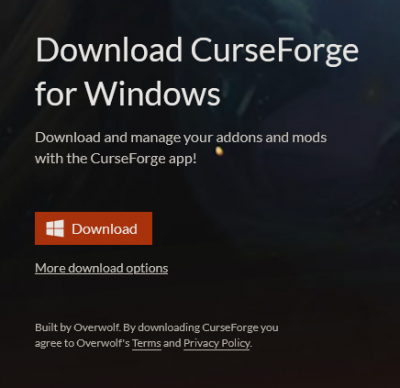
| − | |style="text-align:center"|Download the Curseforge | + | |style="text-align:center"|Download the Curseforge launcher for your platform [https://download.curseforge.com/ here]. |
| [[File:Curseinstall1.png|none|400px]] | | [[File:Curseinstall1.png|none|400px]] | ||
|- | |- | ||
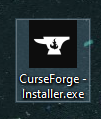
| − | |style="text-align:center"|Run the | + | |style="text-align:center"|Run the downloaded file. |
| [[File:Curseinstall2.png|none]] | | [[File:Curseinstall2.png|none]] | ||
|- | |- | ||
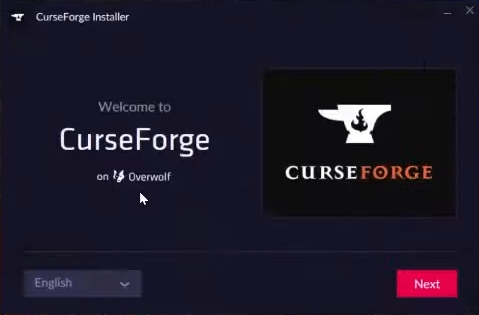
| − | |style="text-align:center"|Select a | + | |style="text-align:center"|Select a preferred language then click the "Next" button. |
| [[File:Curseinstall3.png|none]] | | [[File:Curseinstall3.png|none]] | ||
|- | |- | ||
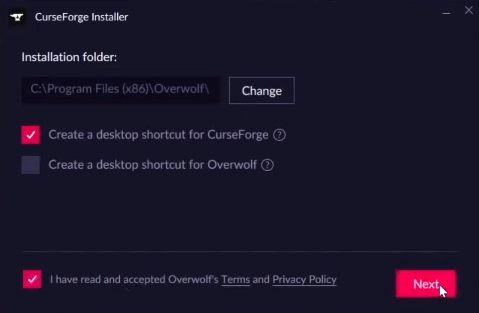
| − | |style="text-align:center"|Agree to the Terms and Conditions and | + | |style="text-align:center"|Agree to the ''Terms and Conditions'' and click the "Next" button. |
| [[File:Curseinstall4.png|none]] | | [[File:Curseinstall4.png|none]] | ||
|- | |- | ||
| − | |style="text-align:center"|Once installed, | + | |style="text-align:center"|Once installed, select Minecraft in the "Choose a game" section. |
| [[File:Curseinstall5.png|none|600px]] | | [[File:Curseinstall5.png|none|600px]] | ||
|- | |- | ||
| − | |style="text-align:center"|Select the Minecraft | + | |style="text-align:center"|Select the Minecraft directory to allow Curseforge to install modpack "instances" in that location, then click "Continue". |
| [[File:Curseinstall6.png|none|600px]] | | [[File:Curseinstall6.png|none|600px]] | ||
|- | |- | ||
| − | |style="text-align:center"|Locate the "Browse Modpacks" tab to find "The Pixelmon Modpack" and | + | |style="text-align:center"|Locate the "Browse Modpacks" tab to find "The Pixelmon Modpack" and select "Install". |
| [[File:Curseinstall7.png|none|600px]] | | [[File:Curseinstall7.png|none|600px]] | ||
|- | |- | ||
| − | |style="text-align:center"|Once | + | |style="text-align:center"|Once installed, select "My Modpacks" and click the "Play" button!. |
| [[File:Curseinstall8.png|none|100px]] | | [[File:Curseinstall8.png|none|100px]] | ||
|} | |} | ||
Latest revision as of 13:20, 17 May 2025
This part of the installation guide covers installing the Curseforge launcher, and the Pixelmon modpack with it. This page also covers enabling beta builds when they are available.
Installation
| Steps | |
|---|---|
| Download the Curseforge launcher for your platform here. | |
| Run the downloaded file. | |
| Select a preferred language then click the "Next" button. | |
| Agree to the Terms and Conditions and click the "Next" button. | |
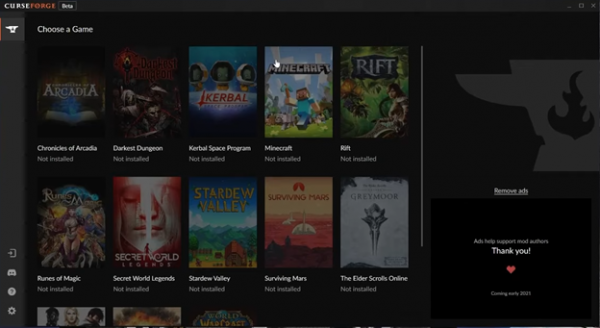
| Once installed, select Minecraft in the "Choose a game" section. | |
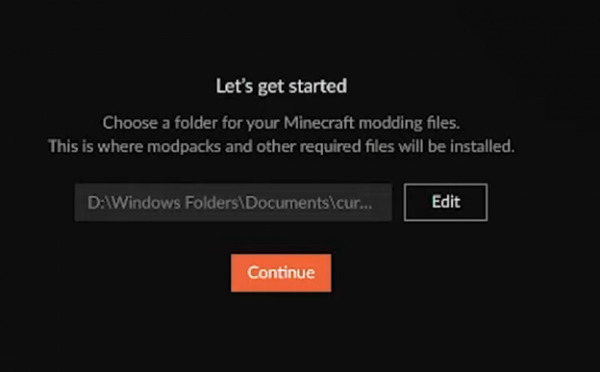
| Select the Minecraft directory to allow Curseforge to install modpack "instances" in that location, then click "Continue". | |
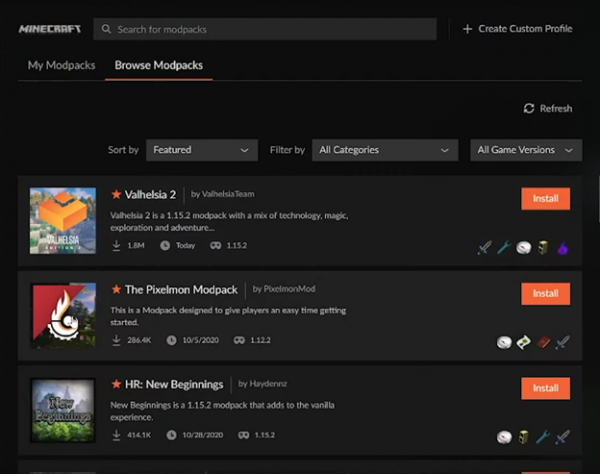
| Locate the "Browse Modpacks" tab to find "The Pixelmon Modpack" and select "Install". | |
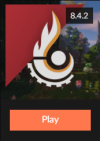
| Once installed, select "My Modpacks" and click the "Play" button!. |
Installing/Enabling Beta builds
| Enabling Pixelmon-Beta Steps | |
|---|---|
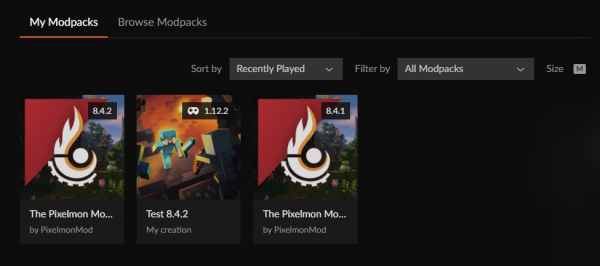
| Launch your Curseforge launcher. | |
| Select your installed Pixelmon modpack profile. | |
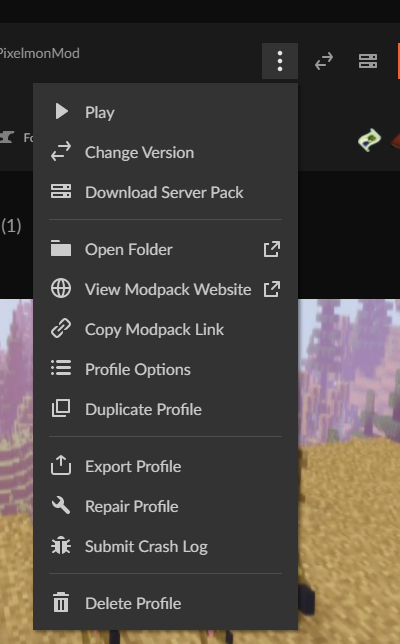
| Click on the three vertical dots for the " Profile Options" menu. | |
| On the Profile Options dropdown, click the "Profile Options" option. | |
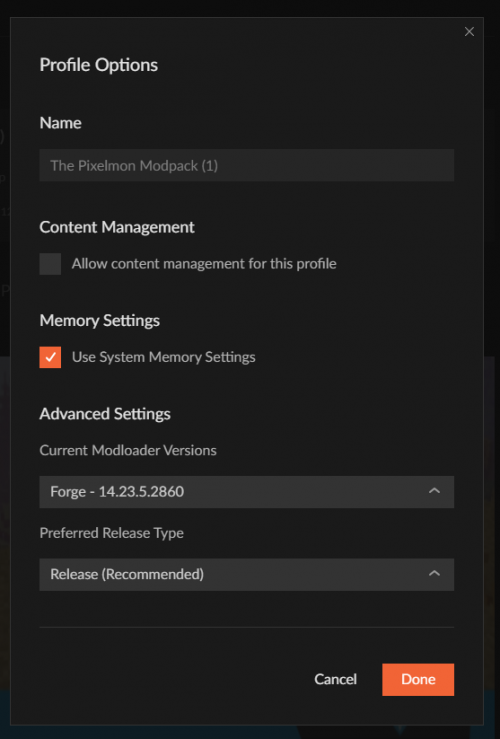
| Once inside the Profile Options submenu, click on the "Preferred Release Type" dropdown. | |
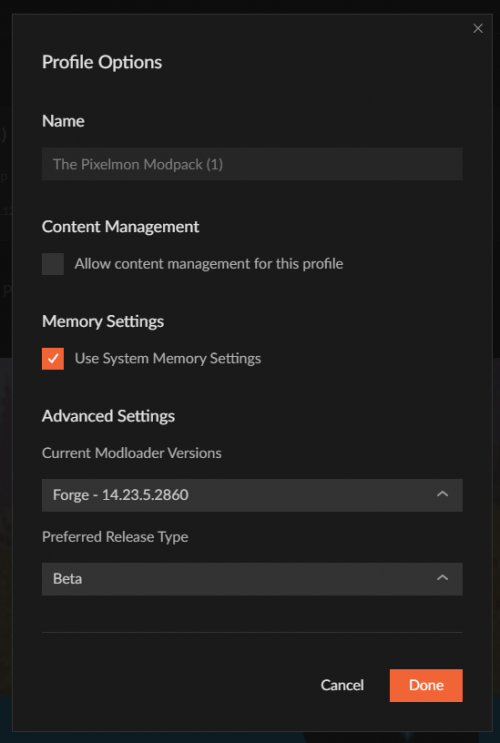
| In the dropdown, select 'Beta' so that versions you can choose from include Pixelmon Beta versions. Once selected, click 'Done' to confirm. | |
| Beta versions should now be available under the 'Change Versions' Profile Option dropdown. |

 NodeCraft
